Linux webcam timelapse
linux ubuntu project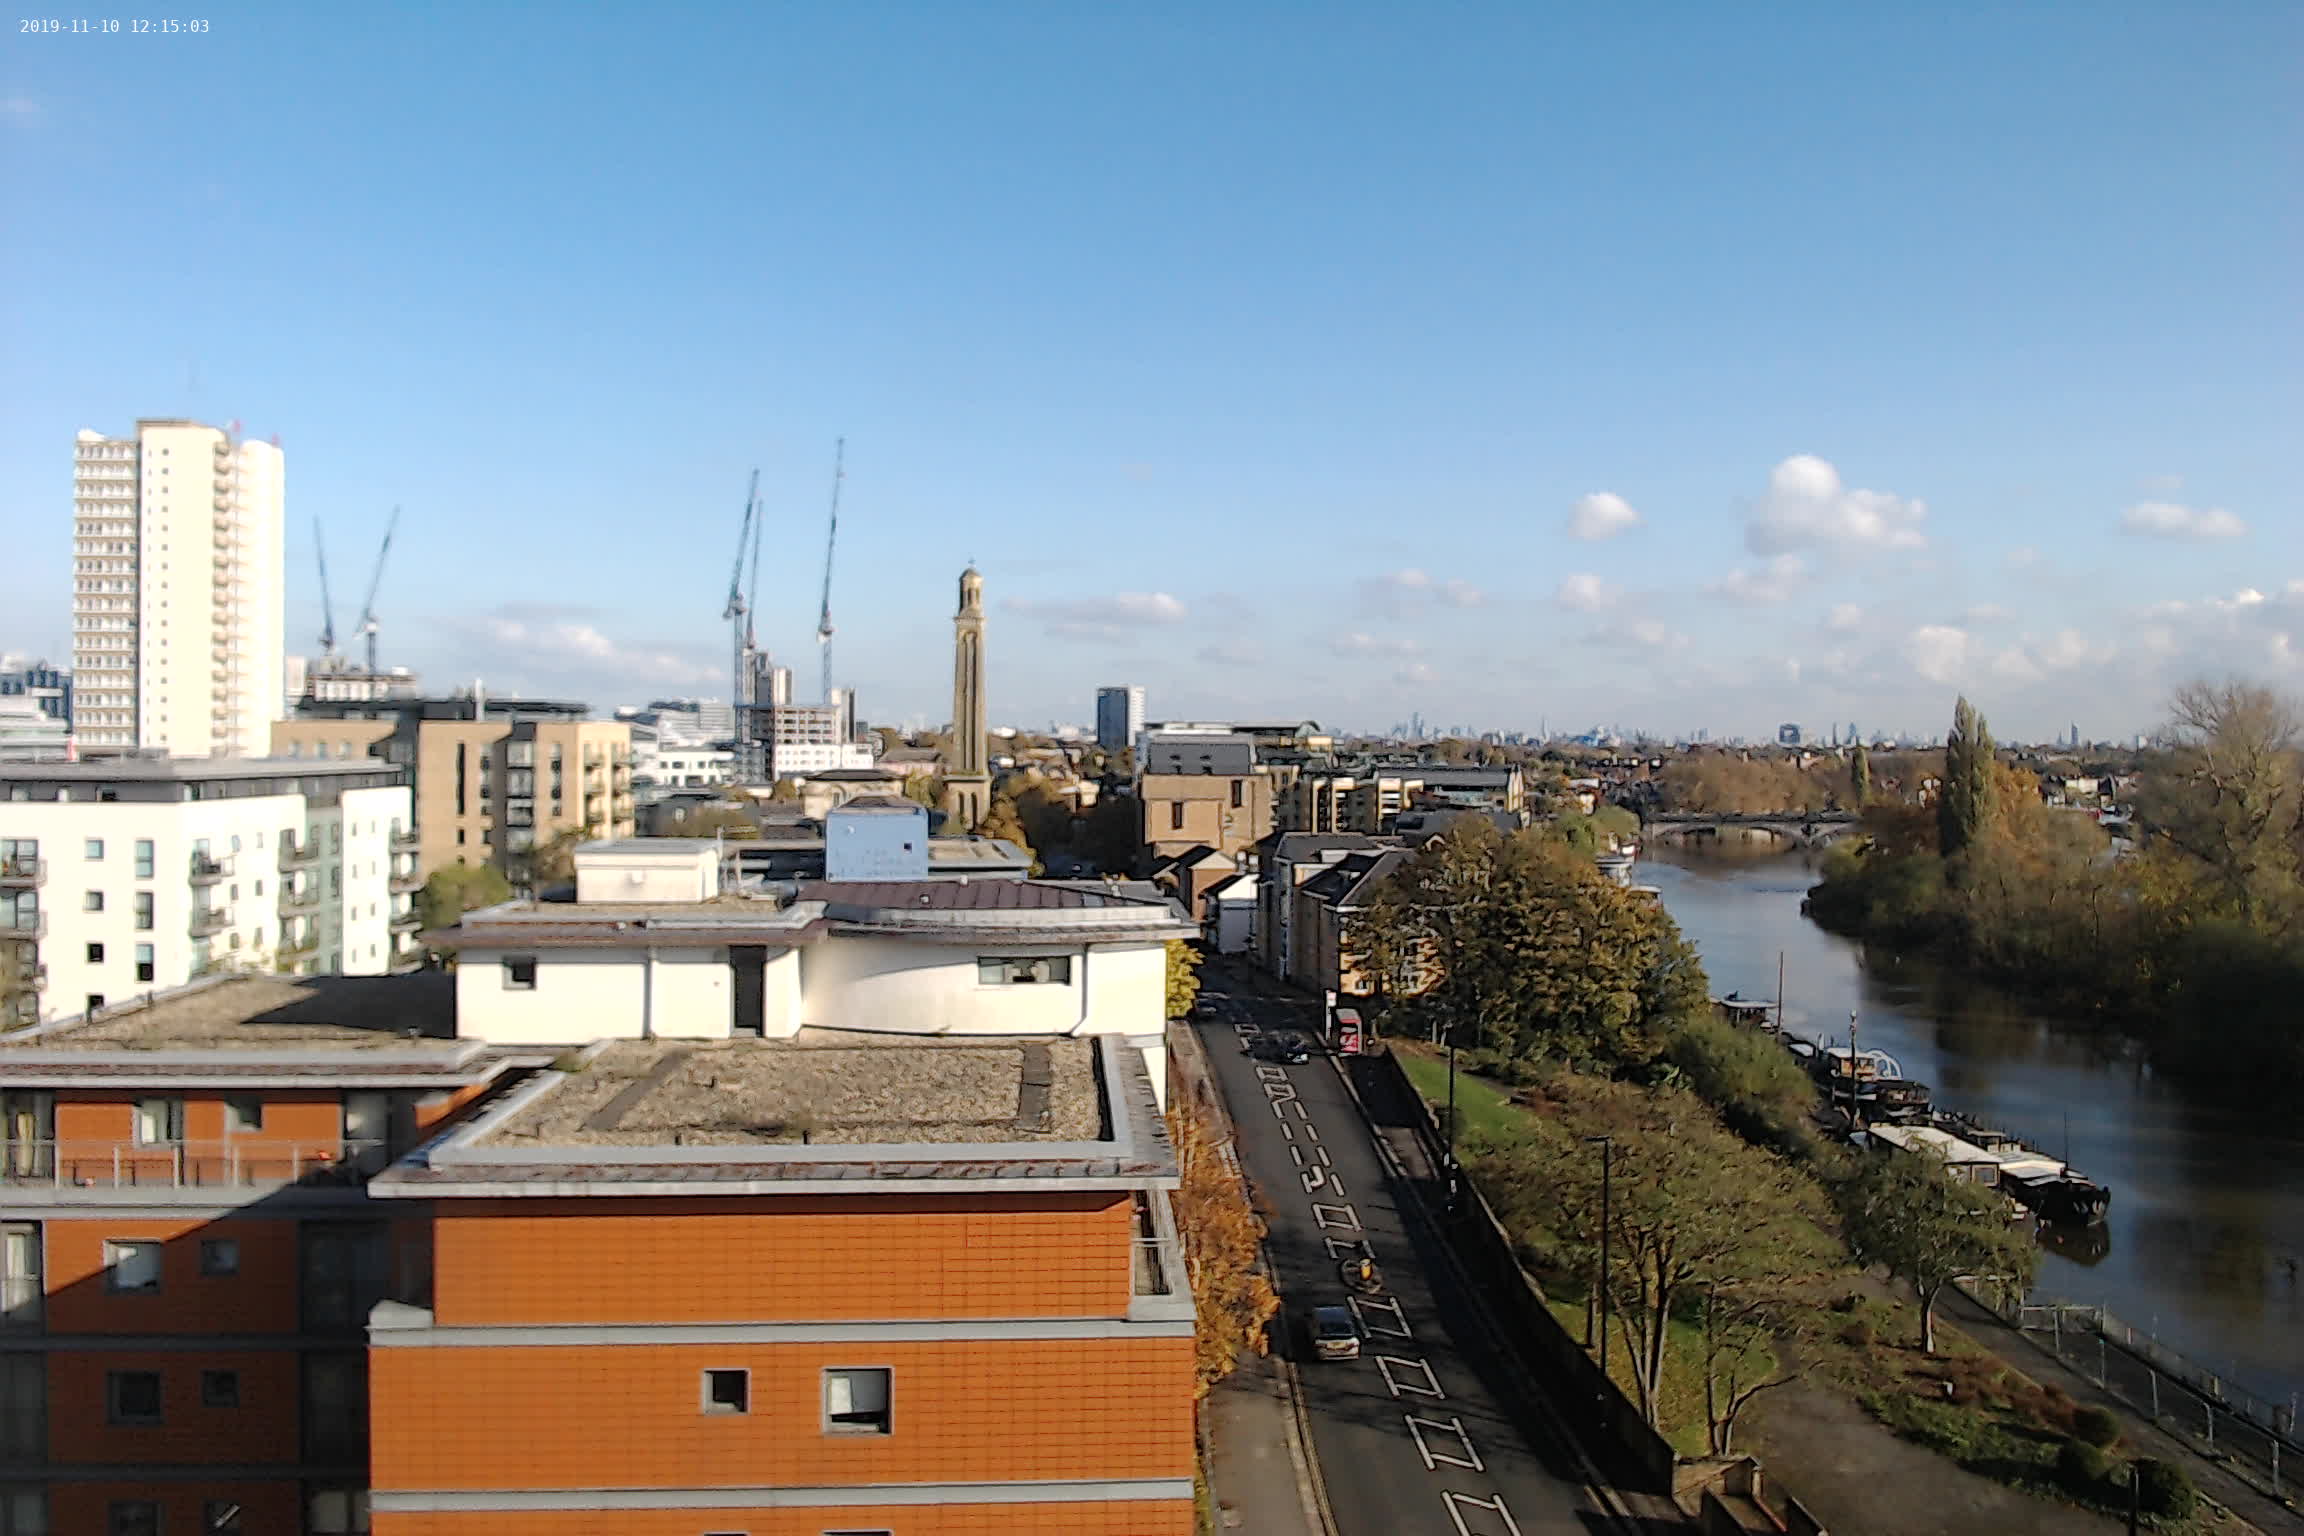
This weekend I decided to set up an unused webcam to capture a time-lapse of London. There were several things to consider:
- Where to connect the camera
- Software to capture photos
- Accessing and presenting the photos
I connected the camera to an old laptop with Linux installed that I would be willing to keep switched on.
I used guvcview to connect to the camera and check the configuration.
Next, I installed and set up motion and set it to take a snapshot every 300 seconds and also stream a live feed to a locally accessible website.
This naïve and simple solution worked, but there were two issues.
Firstly, my webcam of choice was the Logitech C920, which has a 3:2 2304×1636 sensor which is limited to 1080p@30fps for video, and can only manage two photos per second at the full sensor resolution.
Since I configured the webcam to take photos every five minutes I had hoped to use the full sensor resolution. To my dismay, since motion’s main use case is for detecting motion (hence the name) this was impossible.
Secondly, motion had a very high load on the machine and caused the fan to be noticeably louder, and I was not willing to have so much noise in the room this machine is in.
So I turned instead to a combination of ffmpeg and cron to capture photos. ffmpeg supports input from video devices on Linux, so this was a viable alternative. After spending a significant amount of time messing with the configuration options for my specific webcam, I managed to retrieve full-sensor images.
My webcam configuration command:
v4l2-ctl -c brightness=128
\ -c contrast=128
\ -c saturation=150
\ -c sharpness=190
\ -c backlight_compensation=1
\ -c exposure_auto_priority=1
\ -c focus_absolute=0
\ -c focus_auto=0
\ -c led1_mode=0
And my ffmpeg command:
ffmpeg -f video4linux2                 # V4L2 interface
\ -input_format yuyv422                # raw video input (to access full sensor)
\ -framerate 2                         # limit framerate to 2, otherwise V4L2 automatically selects 1080p instead
\ -video_size 2304x1536 -s 2304x1536   # set the desired capture size
\ -i /dev/video0                       # my input device
\ -frames 1                            # how many frames to take
\ -vf drawtext="fontfile=/usr/share/fonts/truetype/dejavu/DejaVuSansMono.ttf:text='%{localtime\:%Y-%m-%d %T}':x=20:y=20:fontcolor=white"         # date + time watermark on the photo
\ /var/www/html/motion/KewBridge-$(date +%Y%m%d-%H%M%S).jpg       # output filename
So putting this into cron, it looks like this (escaping the % symbol):
@reboot v4l2-ctl -c brightness=128 -c contrast=128 -c saturation=150 -c sharpness=190 -c backlight_compensation=1 -c exposure_auto_priority=1 -c focus_absolute=0 -c focus_auto=0 -c led1_mode=0
*/5 * * * * ffmpeg -f video4linux2 -input_format yuyv422 -framerate 2 -video_size 2304x1536 -s 2304x1536 -i /dev/video0 -frames 1 -vf drawtext="fontfile=/usr/share/fonts/truetype/dejavu/DejaVuSansMono.ttf:text='\%{localtime\:\%Y-\%m-\%d \%T}':x=20:y=20:fontcolor=white"  /var/www/html/motion/KewBridge-$(date +\%Y\%m\%d-\%H\%M\%S).jpg
Using ffmpeg allows me to access the camera when it’s not taking a photo, CPU load on my machine is significantly reduced and I still capture the same number of images.
To access and present these photos, I use apache2 in combination with this lovely apache2 directory listing theme.
A small post-scriptum #
The webcam struggles with handling the high dynamic range. Especially as the days get longer and there’s more sun about, often-times the whole photograph is pure white, and at night barely anything can be seen because it’s so dark. I tried writing Python in combination with OpenCV to capture multiple photographs at different exposures and combining them into a single HDR post-processed photograph. This proved to be a lot more complicated than I thought, particularly because the webcam’s exposure control interface isn’t well-equipped for this kind of abuse. I’m no computational photography expert so I’ve left the project dormant for now…